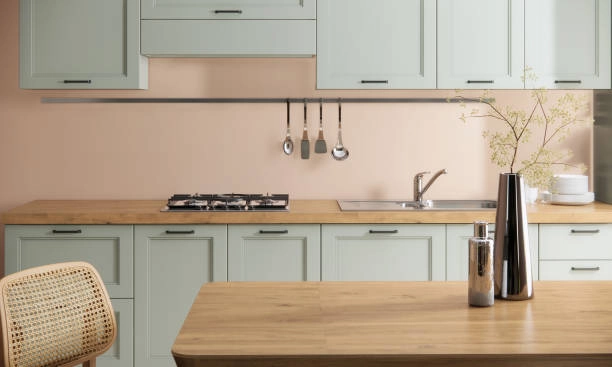
Trim carpentry is one of the most impactful aspects of interior design, subtly transforming ordinary rooms into elegant spaces with defined lines and thoughtful detailing. For anyone interested in DIY projects or home renovation, understanding carpentry trimming is an essential step toward achieving polished, professional finishes. At Hollywood Refinishing, we’re passionate about enhancing homes with carpentry trimming, using quality materials and craftsmanship to ensure each detail brings beauty and value to your home.
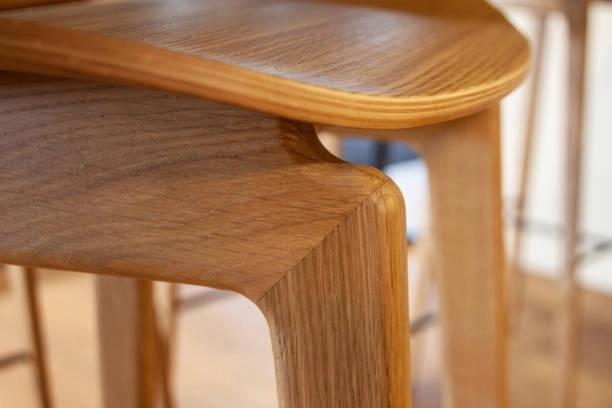
What Is Trim Carpentry?
Carpentry trimming (or finish carpentry) refers to the final touches that complete a home’s construction, making it visually appealing and cohesive. Unlike rough carpentry, which focuses on the structural framing of the building, carpentry trimming involves precision work that is often visible: baseboards, crown moldings, door and window casings, wainscoting, and other fine details that bring character to interiors. Trim carpenters are artisans, working with skill to ensure every miter, joint, and edge is precise and attractive.
Essential Tools and Techniques for Trim Carpentry
A successful trim carpenter combines careful planning, measurement, and use of specialized tools. Here’s a breakdown of some essential tools and techniques you’ll need to get started with trim carpentry:
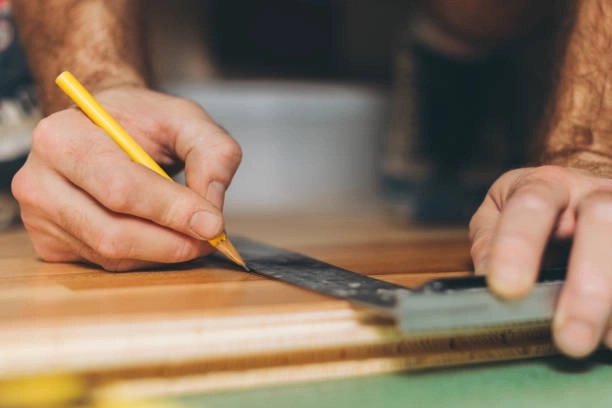
- Measuring Tools: Accurate measurements are vital. Invest in a high-quality tape measure, rigid ruler, and combination square. For shorter, precise measurements, a folding rule with a brass extension is perfect.
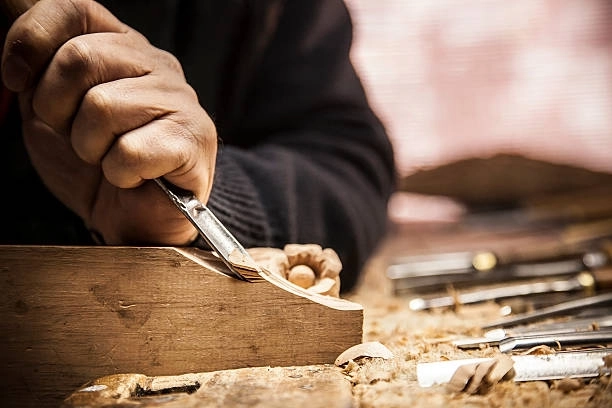
- Cutting Tools: To achieve seamless joints, a miter saw is indispensable for making clean, angled cuts. Circular saws and handsaws may be needed for larger cuts, while a coping saw allows you to craft intricate designs for custom trims.
- Marking Techniques: Instead of relying solely on numbers, place boards directly in their intended position and mark them. This eliminates potential errors from transferring measurements, and it’s especially useful for marking precise cuts.
- Nailers and Fasteners: For securing trim in place, brad nailers and finish nailers offer the strength and finesse needed without damaging the trim. Pneumatic nail guns are particularly efficient for larger projects.
- Sanding and Finishing Tools: Use sandpaper or electric sanders to smooth rough edges and joints. Finishing products like paint, stain, and sealant add the final touch to your carpentry work.
Key Principles for Perfecting Interior Trim
Trim carpentry requires attention to detail and a steady hand. Here are some foundational principles to guide you through achieving beautiful results:
1. Use Reveals for Depth and Shadow Lines
A reveal is a small setback or “step” that creates a shadow line between different surfaces. For example, when casing a door, the trim typically sits back from the jamb, creating depth and avoiding flush edges. This technique not only improves visual appeal but also hides slight imperfections, as the shadow lines help mask discrepancies that would be obvious with flush edges.
2. Avoid Relying Too Much on Tape Measures
Though measuring tapes are invaluable, directly marking the trim in place can be more accurate. Holding a board in place and marking it is often better than using a tape measure and translating numbers. Tools like folding rules and combination squares are excellent for laying out precise measurements, especially for intricate trim work.
3. Split the Difference on Imperfections
In older homes or spaces where surfaces aren’t perfectly parallel, you might need to account for slight imperfections. Rather than adjusting all at once, make small adjustments across multiple pieces. For example, if wall widths vary slightly, adjust each board incrementally to maintain parallel lines while avoiding visible gaps.
4. Mastering Mitered Joints and Coping Techniques
Mitered joints are essential for making corners meet beautifully, especially on crown moldings and baseboards. Start by cutting at a 45-degree angle, ensuring a snug fit. Coping is another advanced technique where you cut along the profile of the trim to fit it seamlessly into another piece. This skill is essential for fitting trims around irregular edges and is a hallmark of high-quality trim carpentry.
5. Choose the Right Materials
Quality materials make a difference in the final look and durability of your trim work. Opt for hardwoods like oak, maple, or walnut for areas that require durability. Softwoods like pine are suitable for painted trim but may dent more easily. At Hollywood Refinishing, we source high-end materials, ensuring each piece of trim adds lasting value to your space.
Types of Trim and Where to Use Them
Baseboards
Baseboards run along the bottom of the walls, hiding gaps between flooring and walls while adding a clean finish. They range from simple, flat designs to more ornate profiles, depending on the style you want to achieve.
Crown Molding
Crown molding adds sophistication and grandeur to rooms, particularly in living rooms and dining areas. Installed along the wall-to-ceiling joint, it can create a smooth transition or add an architectural statement, depending on the design.
Door and Window Casings
Door and window casings frame these openings, providing a seamless look and helping define spaces. A simple rectangular casing can offer a modern look, while layered moldings add a more traditional or rustic feel.
Wainscoting and Chair Rails
Wainscoting adds texture and style to walls, often installed below a chair rail height, adding durability and visual interest to dining rooms, hallways, and bathrooms. Chair rails also help protect walls in high-traffic areas.
Troubleshooting Common Trim Carpentry Issues
Gaps and Uneven Surfaces
If gaps are visible after installation, wood filler or caulk can help seal these areas. Use paintable caulk to blend in with painted trim. For noticeable uneven surfaces, sanding can help level out slight discrepancies before finishing.
Misaligned Joints
If joints aren’t lining up, double-check your miter saw angles and adjust accordingly. Small adjustments can correct most issues, but it’s best to go slow, measuring twice and cutting once.
Warped or Swollen Wood
Wood naturally expands and contracts with changes in humidity. For homes in humid climates, consider using moisture-resistant materials like engineered wood. Alternatively, allow wood to acclimate indoors for a few days before installation.
Final Touches and Finishing Tips
Once all the trim is installed, the final step is applying the finish. Use primer for paint-grade trims, followed by a couple of coats of high-quality paint. Staining can add warmth and bring out the wood’s natural beauty for hardwood trims. A clear sealer or polyurethane coat will protect the wood and make it easy to clean, especially in high-traffic areas.
Why Choose Hollywood Refinishing for Your Trim Carpentry Needs?
At Hollywood Refinishing, our expertise in carpentry trimming and attention to detail set us apart in the remodeling industry. We believe that every home deserves meticulous craftsmanship and the highest quality materials. Our team works closely with clients, listening to their goals and bringing a collaborative approach to each project. Whether you’re renovating an old home or building new, our finish carpentry services can enhance every room with elegance and precision.
Our commitment to quality and sustainability drives us to use materials that meet Green Building Council standards. Every piece we craft is proudly made in the USA, underscoring our dedication to local craftsmanship and environmental responsibility. With over 20 years of experience, our referral-based clientele is a testament to the trust clients place in us.
Trim carpentry is an art that brings personality, style, and value to your home. From baseboards to crown molding, every piece of trim has a role in defining your space’s character. Whether you’re taking on a DIY project or hiring a professional like Hollywood Refinishing, the right tools, materials, and techniques make all the difference. Our passion is in the details, ensuring every trim installation is clean, precise, and crafted to last. With expert carpentry, your home can achieve that polished finish you envision, transforming each room into a beautifully completed space you’ll love.
Whether you’re a DIY enthusiast or a homeowner ready to hire a professional, carpentry trimming adds that final polish that turns a house into a home. For any trim carpentry needs, contact us today! We’re ready to help you bring your vision to life with impeccable detail and quality.
Frequently Asked Questions
1. What is trim carpentry, and why is it important?
Trim carpentry, also known as finish carpentry, involves installing the final decorative elements that complete a home’s interior look, such as baseboards, crown molding, and door and window casings. This process is crucial for adding a refined, professional touch to a space, transforming it from a plain area to a polished, cohesive environment.
2. What tools do I need to get started with trim carpentry?
For basic trim carpentry, you’ll need measuring tools like a tape measure and combination square, cutting tools like a miter saw and coping saw, marking tools, and a finish nailer. Sanding and finishing tools are also essential to smooth edges and apply final coats for a polished look.
3. Can I install trim on my own, or should I hire a professional?
While it’s possible to install trim as a DIY project, achieving precision and high-quality finishes can be challenging, especially for larger areas or complex molding. For those seeking “trim carpentry services near me,” a professional finish carpenter can ensure precise, attractive results with less time and effort.
4. What’s the difference between crown molding and baseboards?
Baseboards run along the bottom of walls to cover gaps between the wall and floor, offering a clean, unified look. Crown molding is installed at the wall-to-ceiling joint, adding an architectural element and enhancing the room’s style, especially in living and dining areas.
5. How can I avoid common mistakes in trim carpentry?
Some common mistakes include misaligned joints, visible gaps, and uneven surfaces. To avoid these, measure carefully, use wood filler or caulk for gaps, and consider sanding surfaces for evenness. A miter saw is essential for precise, angled cuts, and coping techniques can ensure snug fits in corners.
6. What materials work best for trim carpentry?
Materials like hardwoods (oak, maple) offer durability and a refined finish, ideal for natural or stained trim. Softwoods (pine) are cost-effective for painted trims, though they may dent more easily. Engineered wood or moisture-resistant options are beneficial in humid environments to prevent warping.
7. How should I finish and maintain my trim work?
For painted trims, start with a primer and follow with high-quality paint. Hardwood trims can benefit from staining, which enhances the natural wood grain, and sealing with a polyurethane coat for durability. Regular cleaning and occasional touch-ups will help maintain the appearance over time.


