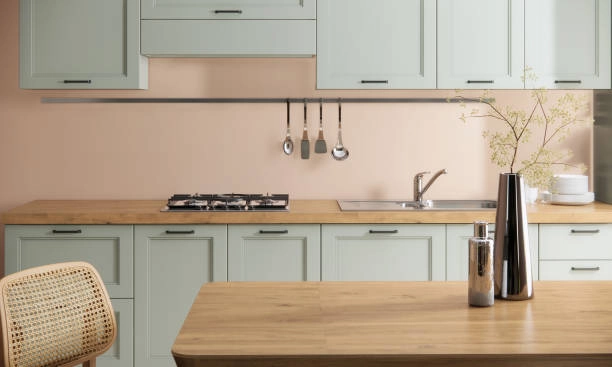
It’s a very rewarding way of breathing new life into the space without having to go out and buy new furniture. However, the process is not without its own challenges, and small mistakes are sometimes bound to lead to less-than-ideal results. The refinishing of wooden items, whether it be for a table in the kitchen, kitchen countertops, or even a wooden play kitchen, requires a knowledge of the process and carefulness. With the following guide, covering common mistakes and practical solutions, you’ll avoid frustration and achieve a flawless finish for your refinishing kitchen table project.
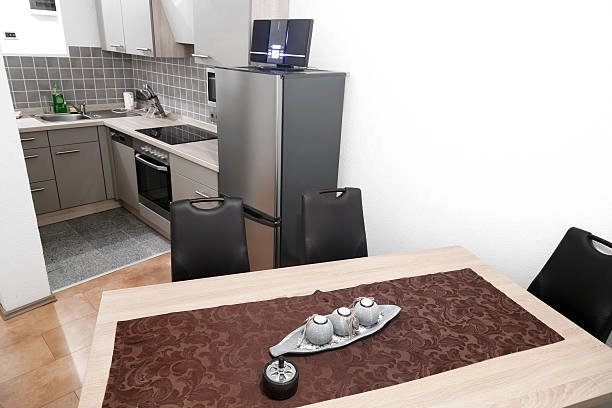
The Worst Mistakes in Refinishing Kitchen Table
One of the most common mistakes when refinishing a kitchen table is neglecting surface preparation. Dirt, grease, and old finishes can prevent new coatings from adhering properly, leading to peeling or uneven results.
Fix: Start by thoroughly cleaning the table with a degreasing agent to remove grime. This step is equally important whether you’re working to refinish kitchen cabinets or focusing on a refinishing kitchen table project. Sand the surface to eliminate the old finish and create a smooth base. Use a tack cloth to remove all dust before applying any products to ensure a flawless result.
2. Choosing the Wrong Sandpaper Grit
Using sandpaper that’s too coarse can leave visible scratches on the surface, while overly fine grit may not remove the old finish effectively.
Fix:
Begin with medium-grit sandpaper (around 80-120 grit) to remove the old finish, whether you’re refinishing kitchen table surfaces or tackling refinishing kitchen countertops. Then, move to finer grits (220-320 grit) for smoothing the surface. Always test on a small area to ensure the sanding achieves the desired texture before proceeding.
3. Neglecting to Fill Cracks and Holes
Cracks, dents, and small holes can mar the appearance of a surface if left untreated during a refinishing kitchen table project or when you plan to refinish a wooden play kitchen. Paint or stain will not cover these imperfections.
Fix:
Fill in any gaps or holes with wood filler matching the color of your table or play kitchen. Allow it to dry and sand the area until it’s flush with the surrounding surface. This will give your refinished items a smooth finish and a professional appearance.
4. Applying Products in an Unventilated Area
Using paints, stains, or finishes in an area without proper ventilation can lead to uneven drying and pose health risks due to fumes, whether you’re refinishing kitchen table surfaces or planning to refinish kitchen sink areas.
Fix:
Work in a ventilated area, preferably open windows or a fan. Preferably, work outside with a shade to avoid having dust and debris settling down on the surface and getting a smooth finish.
5. Using Low-Quality Brushes or Rollers
Low-quality tools can leave brush strokes, uneven coatings, or lint embedded in your surface when refinishing a kitchen table or working on a refinishing kitchen table project.
Fix:
Invest in high-quality brushes or rollers designed for the type of product you’re using. Foam brushes are ideal for applying smooth layers of polyurethane or stain, while natural bristle brushes work well with oil-based paints, ensuring a professional and flawless finish.
6. Skipping the Primer
When painting a kitchen table, skipping the primer can lead to poor adhesion and uneven color.
Fix:
Always use a primer suitable for the type of paint you’re applying. Primers help seal the wood, provide a uniform surface, and enhance the paint’s durability.
7. Ignoring Test Samples
Diving straight into refinishing without testing can lead to unwanted results, such as mismatched colors or finishes.
Fix:
Test your chosen stain or paint on a hidden section of the table or a similar piece of wood. Allow it to dry fully to evaluate the color and texture before committing to the entire surface.
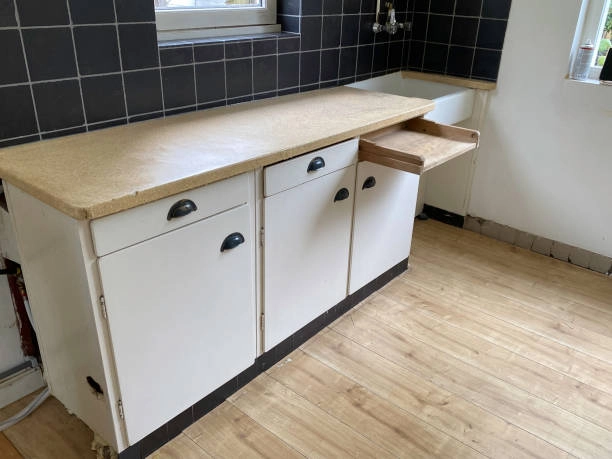
8. Applying Thick Layers
Many people think applying thick layers of paint or stain will save time, but this often leads to drips, uneven drying, and an inconsistent finish.
Fix:
Apply multiple thin layers instead of one thick coat. Allow each layer to dry completely before applying the next. This approach ensures a smoother and more durable finish.
9. Failing to Protect Surrounding Areas
Refinishing projects can get messy, and failing to protect your floors, walls, or other furniture can lead to extra cleanup.
Fix:
Cover your workspace with drop cloths or plastic sheeting. Use painter’s tape to protect any areas you don’t want to paint or stain, such as edges or intricate details.
10. Rushing the Drying Process
Impatience is a common mistake, leading people to handle or use their refinished items, such as a refinishing kitchen table, before they’re fully cured. This can also happen when you refinish kitchen cabinets, work on refinishing kitchen countertops, or refinish a wooden play kitchen.
Fix:
Follow the manufacturer’s drying and curing times for each product. While paint or stain may feel dry to the touch after a few hours, curing often takes days or even weeks. Allow the table or other refinished surfaces to cure in a dust-free environment for the best results and long-lasting durability.
11. Overlooking the Final Finish
Many people skip the protective finish, leaving their refinished surfaces, such as when you refinish kitchen cabinets or work on refinishing kitchen table projects, vulnerable to scratches, stains, and wear.
Fix:
Choose a finish that complements your refinished surface. Polyurethane provides excellent durability, while oil finishes enhance the wood’s natural beauty. Apply at least two coats for optimal protection and long-lasting results.
12. Not Considering the Table’s Purpose
Ignoring how the table will be used can lead to choosing the wrong products. For example, a glossy finish may show scratches more easily on a heavily used table.
Fix:
Select products based on the table’s purpose. For high-traffic surfaces, opt for durable, matte or satin finishes that hide wear and tear better than glossy ones.
13. Reusing Old Hardware
If your table has metal or decorative hardware, reusing worn-out or mismatched pieces can detract from the overall look of your project, whether refinishing kitchen table surfaces or planning to refinish kitchen sink fixtures.
Fix:
Consider replacing or refinishing the hardware to match the table or sink’s new style. Use spray paint designed for metal or purchase new hardware to achieve a cohesive and polished design.
14. Skipping Maintenance
After putting so much effort into refinishing, failing to maintain the table can quickly undo your hard work.
Fix:
Clean the table regularly with a damp cloth and avoid using harsh chemicals. Use coasters, placemats, and tablecloths to protect the surface from scratches, heat, and spills.
The Value of Professional Help
While refinishing a kitchen table can be a satisfying DIY project, it requires time, patience, and precision. If you’re unsure about tackling the process yourself, consider hiring professionals like Hollywood Refinishing. With over 20 years of expertise in refinishing kitchen tables, countertops, and cabinetry, they provide tailored solutions to restore your furniture’s beauty and functionality.
Why Choose Hollywood Refinishing?
- Experience and Expertise: Over two decades of skill in refinishing and restoration.
- Sustainable Practices: All materials comply with LEED certification standards.
- Versatility: Services range from antique restoration to custom cabinetry.
- Impeccable Craftsmanship: Attention to detail ensures exceptional results.
Hollywood Refinishing believes in clear communication and working within your budget to bring your vision to life. Whether it’s a kitchen table, refinishing kitchen cabinets, or countertops, their team ensures each project is handled with care.
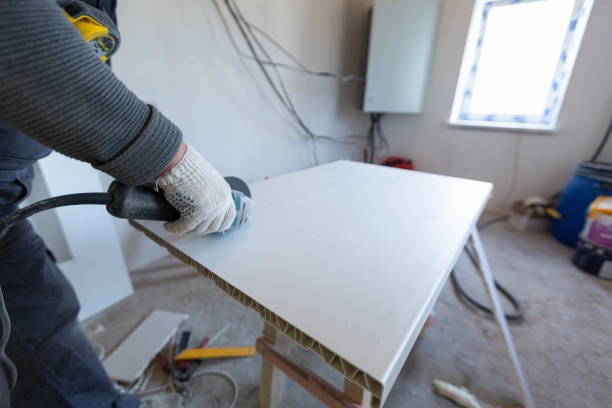
In conclusion, refinishing a kitchen table is an excellent way to refresh your space while preserving what makes your furniture special. By avoiding common mistakes like skipping preparation, using low-quality tools, or rushing the process, you can achieve stunning results. Additionally, for those considering broader updates, professional kitchen cabinet refinishers can transform your cabinets to match your refinished table.
Whether you are focusing on a refinishing kitchen table project or planning to refinish kitchen cabinets, Hollywood Refinishing is your trusted partner for all things restoration. With their expertise, your furniture and cabinets will not only look beautiful but also stand the test of time. Inspired? contact us today to learn more about kitchen refinishing.
Frequently Asked Questions
1. How do I prepare for refinishing a kitchen table?
Preparation is key to great results. Clean the table thoroughly so that grime and grease are removed. Use medium-grit sandpaper to scrape off the old finish; then switch to finer grits for a smooth texture. Finally, use a tack cloth to remove all the dust before applying new products.
2. Can I apply the same refinishing process to kitchen countertops as I would to a table?
The basic principles are the same: cleaning, sanding, and applying a finish. However, the coatings applied to countertops need to be more durable since they get more use. Whether you’re working on refinishing kitchen table surfaces or countertops, be sure to use food-safe finishes and materials that can stand up to moisture and heat.
3. What products work best to refinish kitchen cabinets?
For kitchen cabinets, use a primer to ensure proper adhesion of paint or stain, especially if the cabinets are exposed to high humidity. High-quality wood stains, oil-based paints, or cabinet-specific finishes provide long-lasting results. A clear protective coat is essential for durability.
4. How do I refinish a wooden play kitchen without using harmful chemicals?
Use non-toxic, child-safe finishes and water-based paints for a wooden play kitchen. Start by sanding the surface to remove any old finish, then apply your chosen stain or paint in thin layers, allowing each to dry thoroughly before applying a protective sealant.
5. Can I refinish a kitchen sink, or should I replace it?
Refinishing a kitchen sink can be a cost-effective alternative to replacement. The process involves cleaning, sanding, and applying a durable epoxy finish. This method is ideal for sinks that are structurally sound but have surface wear.
6. What mistakes should I avoid when refinishing a kitchen table?
Some common mistakes include skipping surface preparation, using the wrong sandpaper, and rushing the drying process. Always clean, sand, and test finishes on a small area. Allow sufficient curing time and apply thin, even layers of paint or stain for the best results.
7. Why should I hire professional kitchen cabinet refinishers?
The professionals have experience and can provide access to specialized tools and materials for getting a durable, smooth finish according to your design. The hiring of experts can save your precious time and ensure a quality outcome, especially for large projects such as refinishing kitchen cabinets or countertops.

