A well-loved kitchen table often shows signs of wear and tear, but with a little effort, you can bring it back to life. Refinishing your kitchen table is a rewarding way to refresh your space while preserving a beloved piece of furniture. In this guide, we will show you how to refinish kitchen table like a pro, using simple hacks that anyone can try.
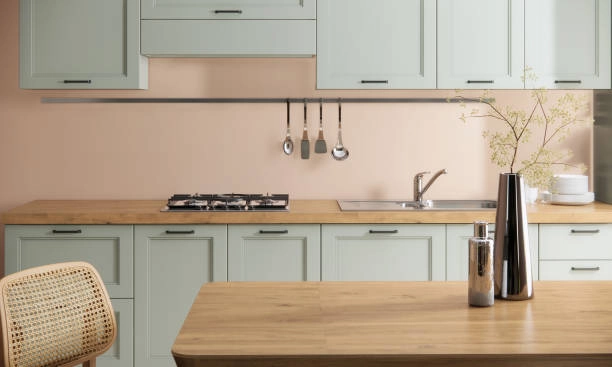
Simple Hacks For Your Kitchen Table
Refinish your kitchen table to give new life to that old or damaged piece. With scratches, stains, or just outdated finishes, refinishing can:
- Restore its former beauty.
- Extend its lifetime.
- Match your updated decor.
- Save you money instead of buying a new table.
Hollywood Refinishing values cherished furniture pieces. When you refinish kitchen table, you preserve its sentimental and practical value while giving it a fresh and updated look that fits perfectly into your space.
Supplies Needed
Before diving into the project, gather these essential materials and tools:
Materials
- Drop cloth
- Stripping agent
- Putty knife
- Sandpaper (80-grit and 180-grit)
- Wood stain
- Sponge brushes
- Clean rags or old t-shirts
- Polyurethane or other protective finish
- Mineral spirits
- Rubber gloves
Tools
- Orbital sander (optional, but recommended)
- Paintbrush
- Scrub sponge
- Step-by-Step Guide to Refinishing Your Kitchen Table
Step 1: Prepare Your Workspace
Choose a well-ventilated area, such as a garage or outdoors, when you plan to refinish kitchen table, to avoid inhaling fumes. Lay down a drop cloth to protect your floors and make cleanup easier during the process.
Step 2: Remove the Old Finish
Apply a good coating to the tabletop with a paintbrush, using a stripping agent. Let it sit for the recommended time on the product’s label, usually 1-2 hours. Once softened, use a putty knife to scrape off the finish. A scrub sponge can be useful for scrubbing out stubborn spots in intricate areas.
After the scraping process, clean the surface using mineral spirits to ensure any left over is removed. The table should dry completely before the following process.
Step 3: Sand the Surface
To refinish kitchen table, start with 80-grit sandpaper to remove any remaining finish or imperfections. Work along the grain of the wood to prevent scratches. For a smoother surface, switch to 180-grit sandpaper and sand the entire table again. An orbital sander can save time, but hand sanding offers more control.
After sanding, wipe the table with a damp rag to remove dust and ensure a clean surface for staining.
Step 4: Stain the Wood
Select a stain for refinish kitchen table that aligns with your kitchen’s coloring scheme. Use a sponge brush while applying it to the wood-grain direction. Let sit 5-15 minutes after applying and wipe off any excess you may have used with a clean rag. Apply coats in thicker layers for richer colors and let dry as you go along.
Step 5: Add a Protective Finish
Finish off your refinished table with a durable coat of polyurethane. Using a sponge brush, apply very thin, even coats, letting each coat dry for several hours and lightly sanding with fine-grit sandpaper between coats. Most tabletops require 2 to 3 coats to sufficiently withstand daily wear and tear.
Step 6: Put Everything Back Together and Enjoy
Once the final top layer of polyurethane dries, your table is ready for use. After you refinish kitchen table, put it back in its rightful place in your kitchen to enjoy its renewed and refreshed look.
Pro Tips for Refinishing Success
Test Your Stain: Always test the stain on a hidden area of the table to ensure it achieves the desired color.
Patience is Key: Allow adequate drying time between each step to avoid smudges or uneven finishes.
Use Proper Ventilation: When working with stains and finishes, good ventilation is essential for safety.
Common Refinishing Hacks
Natural Stripping Alternatives: If you’re looking for a less chemical-intensive method, try sanding alone or using a mix of baking soda and water for light stripping.
DIY Stains: Create custom stains using coffee or tea for a natural and budget-friendly option.
Distressed Look: Use sandpaper to lightly scuff edges and corners for a trendy, rustic appearance.
When to Call a Professional
While DIY refinishing is rewarding, some projects may require professional expertise. Consider reaching out to Hollywood Refinishing if:
- Your table has intricate carvings or delicate details.
- The damage includes deep scratches, cracks, or warping.
- You’re short on time or tools.
Our team specializes in refinishing kitchen tables and other furniture, ensuring stunning results every time.
Beyond Tables: Other Refurbishment Projects
- Refurbishment isn’t just for tables. Try these additional projects to enhance the appeal of your kitchen:
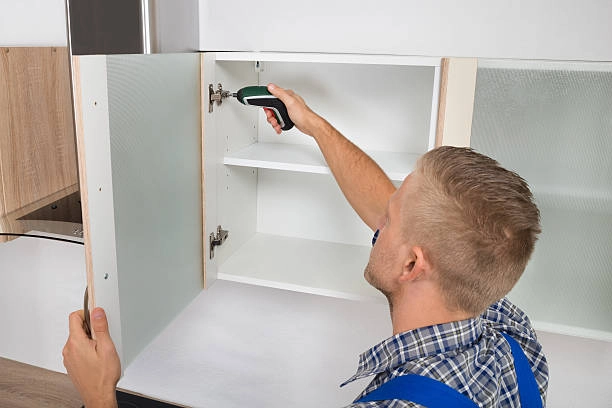
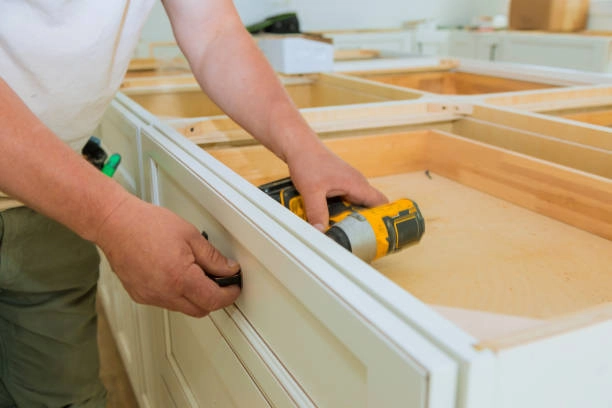
- Refurbish Kitchen Cabinets: Update your cabinets with a new stain or paint.
- Refurbishing Kitchen Countertops: Sand and recoat wood countertops to ensure a smooth finish.
- Refurbish a Wood Play Kitchen: Give your kids’ play area a makeover by using non-toxic finishes that are safe for everyone.
- Refurbish Kitchen Sink Surrounds: Make use of water-resistant stains or paints for a brilliant finish.
Refinish kitchen table is a cost-effective way to rejuvenate your space and keep it charming. With the help of these simple steps and creative hacks, you can easily refinish your kitchen table to achieve a professional finish at home. If your project is more complex or you’d prefer expert assistance, we’re here to help. Contact us today to discuss your refinishing needs and bring your furniture back to life.
Frequently Asked Questions
1. Why should I refinish kitchen table instead of replacing it?
Refinishing a kitchen table is a cost-effective way to restore its appearance and functionality. It allows you to maintain the table’s sentimental value while giving it a refreshed look. By refinishing a kitchen table, you can extend its lifespan and match it with your updated decor.
2. Can I refinish kitchen cabinets using similar methods?
Kitchen cabinets are basically like a table with regard to refinishing. Sanitize, sand, stain, and seal are the primary steps. Refinishing of the cabinets is one of the primary means to update a kitchen without the extravagance of having new cabinetry.
3. How do I refinish kitchen countertops if they’re wooden?
For preparing to refinish kitchen counters, you can follow a similar process. Just clean the surface, sand, add a stain or finish, and seal with a tough protective coat. Likewise, when you refinish kitchen table, these steps will help maintain its beauty and durability against daily use.
4. Can I refinish a wooden play kitchen for my kids?
Yes, you can refinish a wooden play kitchen by using non-toxic and child-safe finishes. Sanding the surface, applying safe stains or paints, and sealing it with a protective coating will make it look new while ensuring it’s safe for children to use.
5. How do I refinish a kitchen sink area made of wood?
Use water-resistant finishes to refinish a kitchen sink surround and prevent further moisture damage. Similarly, when you refinish kitchen table, sanding the surface, applying a suitable stain, and sealing it with a protective coating will ensure durability and a refreshed look.
6. Tools and Materials Necessary to Refinish a Kitchen Table
Some of the essential materials required are drop cloths, sandpaper, stripping agents, wood stains, polyurethane, and clean rags. Helpful tools include an orbital sander, putty knife, and sponge brushes. These resources will make refinish a kitchen table better and faster.
7. How do I know to hire professional kitchen cabinet refinishers?
You should hire kitchen cabinet refinishers or other professionals if your furniture has intricate details, significant damage, or if you lack the time or tools. Whether you need to refinish kitchen table or restore other furniture, professionals ensure the project is completed efficiently and with high-quality results.

