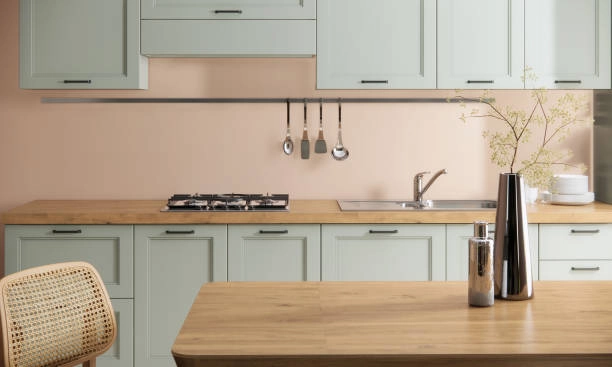
Installing bathroom tile is a fantastic way to turn an ordinary bathroom into a beautiful, functional space. Whether you’re refreshing a dated bathroom or starting a new design, choosing the right tile can have a significant impact. This guide will take you through the essential steps and provide useful tips to help you achieve a professional-looking tile installation.
From selecting the perfect tile and preparing your space to grout and finishing touches, you’ll find everything you need to know to create a unique and functional bathroom that not only looks stunning but also stands the test of time. Let’s get started!
Planning Your Tile Project
1. Choosing the Right Bathroom Tile
Selecting the appropriate tile is the first step. Consider factors such as durability, water resistance, and style. Porcelain and ceramic tiles are popular choices for bathrooms due to their durability and water resistance. Natural stone tiles, such as marble or granite, offer a luxurious look but require more maintenance.
2. Measuring the Space
Accurate measurements are crucial for purchasing the correct amount of tile and avoiding shortages. Measure the length and width of the area to be tiled and multiply these dimensions to get the total square footage. Always buy 10-15% more tile than needed to account for cuts and breakages.
3. Gathering Tools and Materials
Before starting the installation, ensure you have all the necessary tools and materials:
- Tiles
- Tile adhesive or mortar
- Grout
- Tile spacers
- Tile cutter or wet saw
- Notched trowel
- Grout float
- Sponge
- Level
- Tape measure
- Pencil
Preparing the Surface
4. Clean and Level the Surface
A clean, level surface is essential for a successful bathroom tile installation. Remove any old tiles, paint, or wallpaper. Clean the surface thoroughly to remove dust and debris. Use a level to check for any uneven areas and smooth them out with a patching compound if necessary.
5. Waterproofing
Bathrooms are exposed to high moisture levels, so waterproofing is crucial. Apply a waterproof membrane to the surface to prevent water damage. This step is especially important for shower areas and floors.
Installing the Bathroom Tile
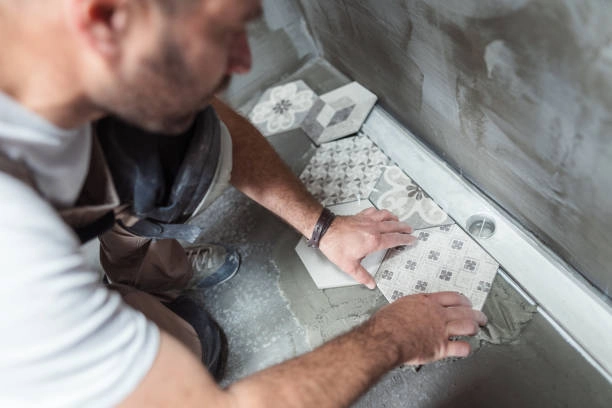
6. Dry Layout
Before applying adhesive, lay out the tiles in a dry run to plan the placement and pattern. This step helps you visualize the final result and make any necessary adjustments. Start from the center and work your way outwards to ensure a balanced layout.
7. Applying Tile Adhesive
Mix the tile adhesive according to the manufacturer’s instructions. Use a notched trowel to spread the adhesive evenly on the surface. Work in small sections to prevent the adhesive from drying out before you can place the tiles.
8. Setting the Bathroom Tile
Press each tile firmly into the adhesive, twisting slightly to ensure a strong bond. Use tile spacers to maintain consistent gaps between tiles for grout lines. Check the alignment frequently with a level to ensure the tiles are straight and even.
9. Cutting Tiles
Use a tile cutter or wet saw to cut tiles to fit around edges, corners, and fixtures. Measure carefully and cut slowly to avoid breakages. Always wear safety goggles when cutting tiles.
Grouting and Finishing
10. Applying Grout
Once the adhesive has set (usually after 24 hours), remove the tile spacers and mix the grout. Use a grout float to apply the grout, pressing it into the gaps between the tiles. Work in small sections and wipe off excess grout with a damp sponge.
11. Cleaning and Sealing
After the grout has dried, clean the tile with a damp sponge to remove any grout residue. Allow the grout to cure for the recommended time before applying a grout sealer. Sealing the grout helps protect it from moisture and stains, ensuring a long-lasting finish.
12. Final Touches
Inspect the entire tiled area for any imperfections or loose tiles. Make any necessary adjustments or repairs. Clean the tiles thoroughly to remove any remaining adhesive or grout haze.
Tips for a Professional Finish
13. Consistency is Key
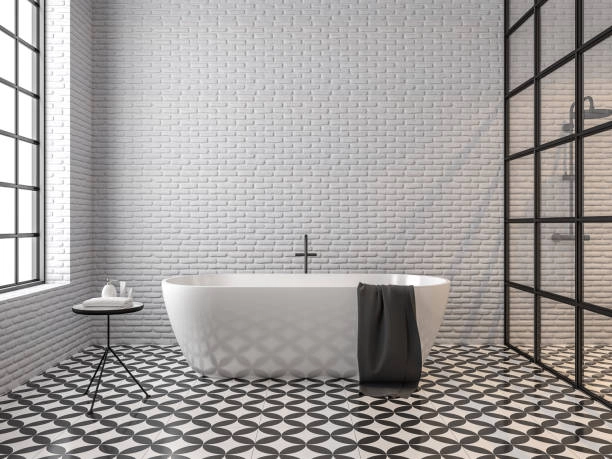
Consistency in grout lines and bathroom tile placement is crucial for a professional-looking finish. Take your time to ensure each tile is placed correctly and each grout line is uniform.
14. Use Quality Materials
Investing in high-quality tiles, adhesives, and grout will pay off in the long run. Cheaper materials may save money upfront but can lead to issues such as cracking, discoloration, and water damage.
15. Patience and Precision
Tile installation requires patience and precision. Rushing through the process can result in mistakes that are difficult to fix. Take your time, follow each step carefully, and pay attention to detail.
Why Choose Hollywood Refinishing?
At Hollywood Refinishing, we pride ourselves on delivering impeccable bathroom tile installations and exceptional remodeling services. With over twenty years of experience, we offer residential and commercial services ranging from drywall and tile work to custom cabinetry and antique restoration. Our commitment to clear communication, precise attention to detail, and high-quality craftsmanship have earned us a loyal client base.
Our Services Include:
- Tile Installation: Expertly installed tiles for bathrooms, kitchens, and more.
- Drywall Work: Smooth, smooth drywall installation and repair.
- Custom Cabinetry: Beautifully crafted cabinets tailored to your space.
- Antique Restoration: Preserving and restoring cherished antiques to their former glory.
Why Trust Hollywood Refinishing?
Choosing Hollywood Refinishing means partnering with a fully licensed, insured, and expertly trained team. We excel in clear communication and offer a wide range of remodeling services. Our innovative approach and attention to detail ensure that every project meets our clients’ highest standards.
High-Quality, Beautiful Designs
All our products are manufactured in the USA and comply with the Green Building Council’s LEED certification program. Our precision craftsmanship and high-end materials are what set us apart in the remodeling industry.
Let us help you transform your bathroom with beautiful, durable tiles that enhance the space and provide long-lasting functionality. Contact us today for a consultation and let us bring your vision to life within your budget.
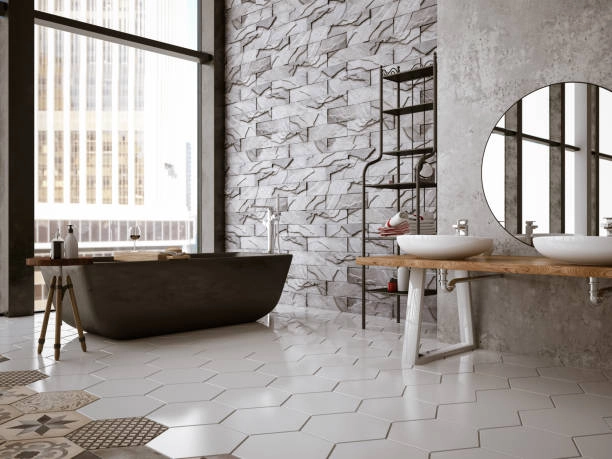
In conclusion, transforming your bathroom with beautiful, durable bathroom tiles can significantly enhance the space’s functionality and aesthetic appeal. By following this guide, you can achieve a professional-looking finish, ensuring each step is executed with care and precision.
Remember, patience, quality materials, and attention to detail are key to a successful tile installation. If you prefer to leave it to the experts, Hollywood Refinishing offers impeccable tile installations and a range of remodeling services. With over twenty years of experience and a commitment to high-quality craftsmanship, we can help bring your vision to life. Contact us today to start your bathroom transformation!
Frequently Asked Questions
1. What type of tile is best for a bathroom?
For bathrooms, porcelain and ceramic tiles are excellent choices due to their durability and water resistance. Natural stone tiles, like marble or granite, offer a high-end look but require more maintenance. Choose based on your budget, desired style, and maintenance preferences.
2. How do I measure my bathroom tile?
Measure the length and width of the area you plan to tile. Multiply these dimensions to get the total square footage. It’s wise to purchase an extra 10-15% of tile to account for cuts and breakages.
3. What tools do I need for tile installation?
Essential tools include tiles, tile adhesive or mortar, grout, tile spacers, a tile cutter or wet saw, a notched trowel, a grout float, a sponge, a level, a tape measure, and a pencil.
4. Why is waterproofing important in tile installation?
Waterproofing is crucial because bathrooms are exposed to high moisture levels. Applying a waterproof membrane helps prevent water damage and prolongs the lifespan of the tile installation, especially in shower areas and floors.
5. How do I ensure my tile layout is even?
Perform a dry layout by arranging the tiles without adhesive to plan the placement and pattern. Start from the center and work outward to achieve a balanced layout. Use a level frequently to check alignment.
6. How long should I wait before applying grout?
Allow the tile adhesive to set for at least 24 hours before applying grout. This ensures the tiles are securely bonded and reduces the risk of shifting during the grouting process.
7. How do I maintain my tiles after installation?
After installation, clean the tiles with a damp sponge to remove grout residue. Apply a grout sealer after the grout has cured to protect against moisture and stains. Regular cleaning and maintenance will keep the tiles looking new and functioning well.

